# Google Authenticator

#### Exportação pelo Google Authenticator

1 – Acesse o App *Google Authenticator* e clique no menu superior esquerdo “Transferir contas”:

<table border="1" id="bkmrk--7" style="border-collapse: collapse; width: 100%; border-width: 3px; border-color: rgb(0, 0, 0);"><colgroup><col style="width: 33.3333%;"></col><col style="width: 33.3333%;"></col><col style="width: 33.3333%;"></col></colgroup><tbody><tr><td style="border-width: 3px; border-color: rgb(0, 0, 0);">[![image.png](https://wiki.oystr.com.br/uploads/images/gallery/2024-02/scaled-1680-/lbEimage.png)
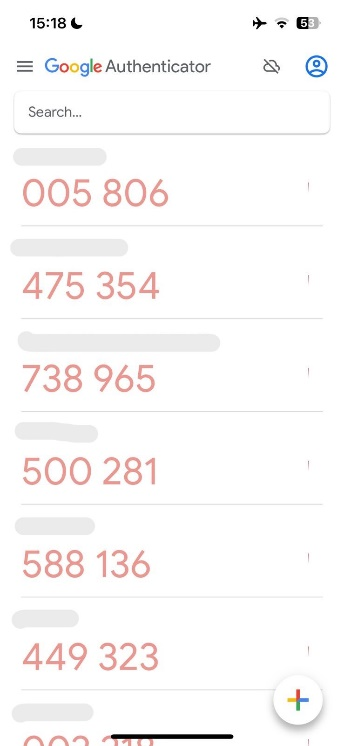
](https://wiki.oystr.com.br/uploads/images/gallery/2024-02/lbEimage.png)

</td><td style="border-width: 3px; border-color: rgb(0, 0, 0);">[![image.png](https://wiki.oystr.com.br/uploads/images/gallery/2024-02/scaled-1680-/boKimage.png)
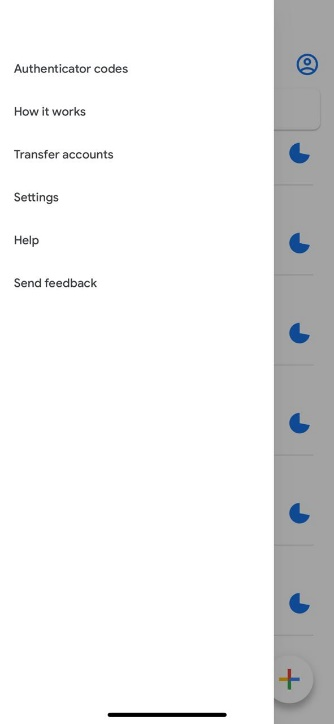
](https://wiki.oystr.com.br/uploads/images/gallery/2024-02/boKimage.png)

</td><td style="border-width: 3px; border-color: rgb(0, 0, 0);">[![image.png](https://wiki.oystr.com.br/uploads/images/gallery/2024-02/scaled-1680-/34Yimage.png)
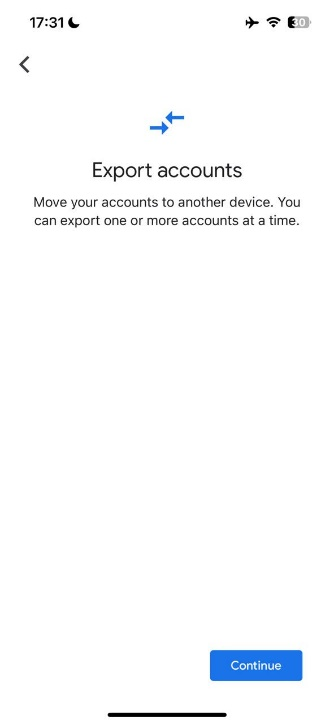
](https://wiki.oystr.com.br/uploads/images/gallery/2024-02/34Yimage.png)

</td></tr></tbody></table>

[ ](https://wiki.oystr.com.br/uploads/images/gallery/2024-02/Iqcimage.png)

2 – Escolha a conta do Eproc e clique em “Exportar”:

<table border="1" id="bkmrk--8" style="border-collapse: collapse; width: 100%; border-width: 3px; border-color: rgb(0, 0, 0);"><colgroup><col style="width: 50%;"></col><col style="width: 50%;"></col></colgroup><tbody><tr><td style="border-width: 3px; border-color: rgb(0, 0, 0);">[![image.png](https://wiki.oystr.com.br/uploads/images/gallery/2024-02/scaled-1680-/fRoimage.png)](https://wiki.oystr.com.br/uploads/images/gallery/2024-02/fRoimage.png)

</td><td style="border-width: 3px; border-color: rgb(0, 0, 0);">[![image.png](https://wiki.oystr.com.br/uploads/images/gallery/2024-02/scaled-1680-/2CGimage.png)](https://wiki.oystr.com.br/uploads/images/gallery/2024-02/2CGimage.png)

</td></tr></tbody></table>